
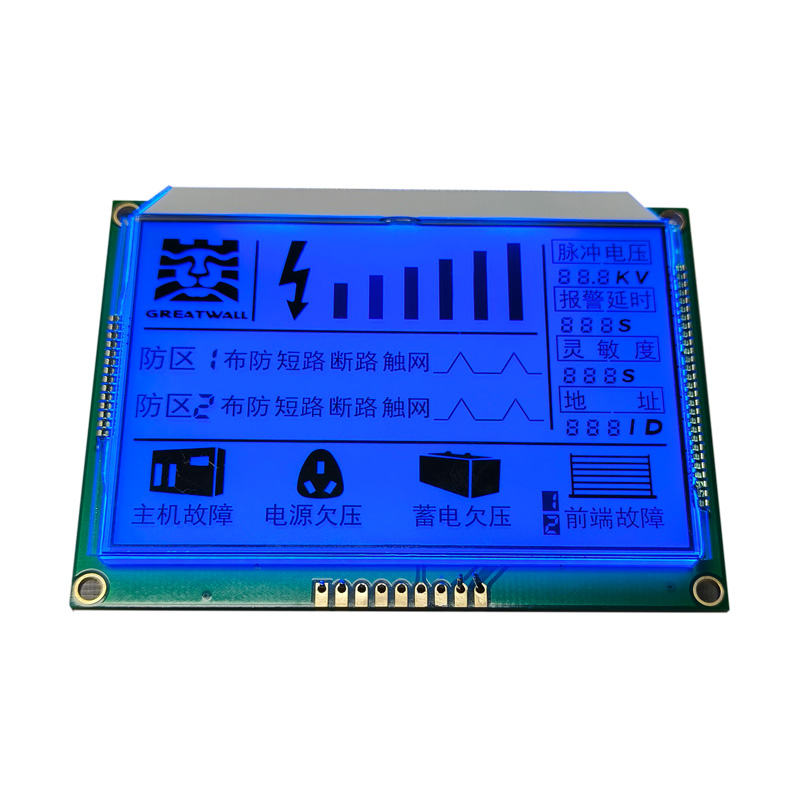
7 Segment LCD Screen Top 10 Picks for Your Next Project
2026-05-14
When tackling your next electronics project, the choice of display can make or break the user experience. Among the countless options, 7 segment LCD screens remain a timeless favorite for their crisp readability and low power consumption. But with so many variants flooding the market, settling on the right one can feel like searching for a needle in a haystack. That’s why we’ve curated the top 10 picks to spark your creativity—from ultra-slim designs to high-contrast modules that shine in direct sunlight. Whether you’re building a retro clock or a precision instrument, this roundup will steer you toward the perfect fit. And if you need expert guidance along the way, Jingda-Display offers a wealth of resources and cutting-edge display solutions to bring your vision to life.
What to Look for in a 7-Segment Display Module
When you start browsing for a 7‑segment display module, brightness often steals the spotlight—and for good reason. Look beyond the generic “high brightness” label and check the actual millicandela rating if it’s available. In practical terms, what matters is how readable the display stays under direct sunlight or in a dimly lit workshop. A module that looks crisp indoors might wash out completely near a window or under strong overhead lights, so try to get a sample or at least a real‑world photo of it in action. The color of the segments plays a surprising role too; red and green tend to be easier on the eyes for quick readings, while blue or white can feel harsh up close. Also pay attention to the diffuser quality—cheap modules often have uneven lighting, with hot spots that make digits harder to parse at a glance.
The interface isn’t something you want to fight with after the novelty wears off. Modules that use a basic serial connection like I²C or SPI save you a ton of wiring and free up pins on your microcontroller, which becomes a lifesaver on smaller boards. On the other hand, the classic parallel‑wired modules force you to hook up eight or more pins just for the segments, plus another for each digit’s common pin. That might be fine for a quick prototype, but it gets messy fast. Look for a module that clearly labels its pins and provides a data sheet that doesn’t read like a mystery novel. A well‑thought‑out backpack with its own driver chip also handles multiplexing behind the scenes, so you won’t see that annoying flicker on camera or when you move your head quickly.
Finally, think about how the module will actually live in your project. The physical footprint and mounting options matter more than you’d expect. Modules with pre‑drilled mounting holes are a minor miracle when you’re building a permanent enclosure. The digit height should match the viewing distance—tiny 0.3‑inch digits are perfect for a handheld gadget, but they’re useless across a room. If you need to read numbers from more than a few feet away, step up to half‑inch or larger. Also check the voltage requirements; a module that runs happily on 3.3V or 5V gives you more flexibility without extra level shifters. And while it’s not flashy, the build quality of the PCB and the solder joints can save you hours of debugging intermittent segments later on.
Balancing Power Consumption and Display Brightness
Finding the right balance between screen brightness and battery life can feel like a constant tug-of-war. Cranking up the brightness makes everything look vivid and easy to see, especially outdoors, but it silently drains your battery at an alarming rate. On the other hand, dimming the screen too much might save power, but it often leads to eye strain and a less enjoyable viewing experience. The trick lies in adaptive brightness settings that intelligently adjust to ambient light, pairing them with manual tweaks when you really need that extra pop or want to conserve every last percentage of charge.
Modern devices increasingly rely on ambient light sensors and software algorithms to automate this balancing act. These systems learn your preferences over time—noticing when you manually override settings in certain lighting conditions—and gradually refine their behavior. Still, not all implementations are equal. Some aggressively dim the display in dim rooms, forcing you to squint, while others might keep it too bright under office lights. Understanding your device’s specific brightness curve and occasionally resetting its learned patterns can help you squeeze out more screen time without sacrificing visual comfort.
Beyond automatic adjustments, a few practical habits can make a noticeable difference. Using dark mode on OLED displays drastically reduces power draw by turning off individual pixels in black areas, effectively letting brightness and battery coexist more peacefully. Additionally, shortening the screen timeout and avoiding live wallpapers can chip away at unnecessary consumption. Ultimately, it’s about small, mindful tweaks—a slightly dimmer screen during a long flight, or a temporary brightness boost when showing photos—that keep you in control without constantly worrying about the next charge.
The Role of Digit Size in Readability
Numbers are everywhere in text—dates, statistics, measurements—and their visual presentation can make or break the reading experience. When digits are too small or crammed together, they become harder to parse at a glance, forcing the eye to slow down and the brain to work overtime. Generous sizing gives each numeral the space it needs to stand out clearly, especially in long sequences where similar shapes (like 3, 8, and 5) can easily blur into one another.
Interestingly, the impact of digit size isn't uniform across all contexts. In body text, slightly larger figures relative to the surrounding letters help maintain a smooth reading rhythm without drawing undue attention. But in tables or data-heavy interfaces, bolder, more prominent numerals can drastically cut down on scanning time and errors. The key lies in matching the size to the task—a phone number in a paragraph demands a different treatment than a stock price in a dashboard.
Beyond mere legibility, well-proportioned digits subtly reinforce trust. Imagine a financial report where the figures appear cramped or inconsistent; readers may subconsciously question the precision of the data. By giving digits appropriate visual weight, you signal that the information is clear, accurate, and worthy of attention, all while reducing fatigue and improving overall comprehension.
Durability Matters: Choosing the Right Build
When you're building anything meant to last, the conversation has to start with materials before it even touches design. The wrong material choice can undo years of thoughtful engineering in a matter of months. I've seen sleek, modern furniture that looked stunning right out of the workshop but couldn't survive its first humid summer. The joints swelled, the finish clouded, and suddenly that 'investment piece' was a liability. It's not just about picking something hard or heavy—it's about understanding how a material behaves over time, in the specific environment it will live in. Wood species vary wildly in stability, with some barely moving while others warp at the slightest moisture shift. Metals have their own quirks: stainless steel resists corrosion beautifully in one setting but can pit pitifully in another. Even synthetics, often marketed as indestructible, can degrade under UV exposure. The real skill lies in matching the material's strengths to the exact demands of the project, rather than relying on a one-size-fits-all notion of durability.
Joinery is where the invisible durability lives, and it's almost always what separates a piece that becomes an heirloom from one that falls apart quietly. You can't judge this by looking at a finished product on a showroom floor, because the real connections are hidden inside. Traditional joinery methods often outperform modern fasteners over the long haul, but only when executed with an understanding of wood movement. A mortise and tenon joint needs room to breathe; if it's glued rigidly in every direction, seasonal expansion can split the surrounding material. Same goes for dovetails—tight is good, but an overly aggressive fit can cause just as much damage as a sloppy one. Even metal hardware has its place, but it demands careful consideration of expansion rates and galvanic corrosion when mixing materials. The best builders think in decades, not deadlines, and their choices reflect a deep respect for the physical forces at play.
There's also an often-overlooked durability factor that has nothing to do with materials or technique: the build's relationship with its owner. A well-made object that's difficult to maintain won't last, because the care it requires will eventually be neglected. Design choices that make cleaning, tightening, or refinishing a chore push people toward discarding rather than repairing. That's why smart durability includes things like easily accessible fasteners, replaceable wear surfaces, and finishes that can be renewed without industrial equipment. I think of a chair I once restored—incredible craftsmanship underneath, but the finish had failed because reaching certain spots to re-oil them was nearly impossible without partial disassembly. The original builder hadn't considered the maintenance routine. True durability isn't just surviving abuse; it's about staying functional and loved through the mundane realities of use over time.
Interfacing with Microcontrollers Made Simple
Working with microcontrollers often feels like a puzzle, especially when you're trying to get different chips and sensors to talk to each other. The truth is, most of the complexity comes down to a few core concepts—voltage compatibility, timing, and understanding the data pathways. Once you break it into these pieces, what initially seemed like a tangled mess of wires and code becomes a straightforward checklist.
Choosing the right communication method is half the battle. SPI might give you raw speed, I2C conserves pins, and UART works like a trusty serial link, but each has quirks you learn by doing. Don't overlook the physical layer, either—a loose connection or a missing pull-up resistor can cause headaches that no amount of debugging will fix until you just walk over and check the board.
Lean on the shared knowledge already out there. Instead of writing every driver from scratch, adapt proven libraries and snippets to your needs. The community has likely solved your exact interfacing challenge before, and building on that not only speeds things up but deepens your understanding when you tweak things for your specific project.
Getting the Most Value Without Sacrificing Quality
True value isn’t about slashing prices or cramming in features nobody asked for. It’s the quiet confidence that comes from knowing you’ve chosen something that will outlast the hype—something where every dollar you parted with continues to earn its keep, month after month, without you having to babysit it. We believe that starts with an almost old-fashioned dedication to materials and process, skipping the cheap shortcuts and instead building things to a standard that would make our grandparents nod in approval.
Cost-cutting usually shows up later disguised as irritation: a seam that tears too early, a button that stops working, or that vague sense you’re paying for brand mythology instead of something real. We sidestep that by being frugal where you can’t see it—only shopping for better raw inputs, not bigger ad budgets—and passing the difference directly back into the product. The result is a quiet durability that doesn’t need to announce itself in capital letters.
Choosing this path means you’re investing in longevity, not just an identity. It’s about owning fewer things, but having every single one pull its weight so gracefully that you forget you ever had to think about it. That’s the kind of value that never goes out of style, precisely because it was never about style to begin with.
FAQ
A 7 segment LCD screen is a simple display module that uses seven individually controlled liquid crystal segments arranged in a figure-eight pattern to show numbers and a few letters. Each segment is toggled on or off by applying voltage, changing the alignment of the liquid crystals to block or pass light. This basic principle makes them ultra-low-power and easy to read, perfect for battery-powered gadgets.
You'll spot them everywhere from digital clocks, thermometers, and kitchen timers to fitness trackers, industrial counters, and DIY Arduino projects. Their straightforward numeric output is ideal when you just need to show data like temperature, speed, or time without the complexity of a full graphic screen.
Size comes down to viewing distance and enclosure constraints — a 0.5-inch display is fine for wearables, while a 2-inch or larger suits wall-mounted panels. Color choice affects contrast and power: standard gray with black segments works in most lighting, but blue or white backlit variants pop in dim conditions. Think about your user's environment first.
Most segment LCDs require an AC drive signal to avoid damaging the liquid crystal, so you'll need either a microcontroller with built-in LCD driver hardware or an external driver chip like the HT1621. Some modules come with a backpack board that handles the multiplexing, making hookup a breeze using just I2C or SPI.
Beyond size and color, pay attention to the viewing angle, operating voltage (usually 3V or 5V), pin count, and whether it's static or multiplexed. Also confirm if it includes a backlight or reflective layer—transflective screens are versatile for both indoor and outdoor use. Don't overlook the interface: parallel, I2C, and SPI each have trade-offs in pin usage and refresh speed.
One crowd-favorite is the generic 4-digit 7-segment LCD with I2C backpack — it’s cheap, reliable, and works out of the box with Arduino libraries. For compact projects, the tiny 0.3-inch reflective displays from brands like Lumex offer crisp daylight readability. If battery life matters, look for ultra-low-current bare glass panels from NKK or custom options on LC Studio.
Conclusion
When putting together a shortlist of 7-segment LCD screens for a project, it’s easy to get lost in datasheets and forget what truly matters in day-to-day use. A good module starts with a clear, evenly lit display that doesn’t wash out under room lighting or become a distraction in dimmer settings. Getting the balance right between brightness and current draw matters more than the absolute numbers on paper—especially when the end device is battery-powered and needs to run for weeks without a recharge. The size of each digit plays a huge role too. A display that’s too small becomes a guessing game for users, while an oversized one can look out of place on a compact board. Real-world factors like viewing angle, mounting depth, and the physical robustness of the unit tend to surface only after a prototype is built, but they’re just as critical. Whether it’s for an outdoor instrument panel or a kitchen timer that’s going to take a few knocks, the housing should feel solid and the connection points need to survive repeated handling and vibration.
Beyond the physical traits, the real test is how painless the integration turns out to be. Not everyone wants to hand-write complex driver routines or troubleshoot timing diagrams on a Monday morning. Modules that come with well-documented libraries, or at least a straightforward serial interface, can shave hours off development and let you focus on the actual logic of the project. It’s worth checking what voltage levels the display expects and whether it plays nicely with the common 3.3V or 5V microcontrollers already sitting on the workbench. The top picks in this category all share a common thread: they deliver reliable performance without pushing the budget past what makes sense for a hobby build or a small production run. Sometimes that means skipping the ultra-premium glass and opting for a polycarbonate lens that costs less but still holds up fine. The goal is to land in that sweet spot where every dollar spent translates into better visibility, longer life, and fewer headaches during assembly—without feeling like corners were cut just to hit a price point.
Contact Us
Contact Person: Vincent
Email: [email protected]
Tel/WhatsApp: 86 135 5485 1379
Website: https://www.jda-display.com/